How To Decorate An Easter Egg

It’s that time of year! The Easter Bunny is about to make his rounds. Have you decorated your Easter eggs yet? Get the whole family involved with these easy steps to Easter Egg decorating.
Prepare Easter egg dye. You can buy Easter egg dye in many craft stores and prepare it according to the package, or make your own. It only takes a few minutes and a couple of ingredients. Here’s how:
Mix 1 teaspoon vinegar with 1/4 teaspoon of food colouring. Pour the dye into 3/4 of a cup of water. Use a different cup for each dye, and be sure there is enough water in the cup to cover an entire egg.
Instructions
-
Step 1

Wash eggs and hollow them using a pin and the blow-out technique (this is a job for the grown-ups). Hollowing the eggs allows you to keep them for next year, and ensures if you break one, you won’t have a big mess to clean up. Note: You could also hollow your eggs after they have been dyed and dried. Here are the steps for hollowing an egg.
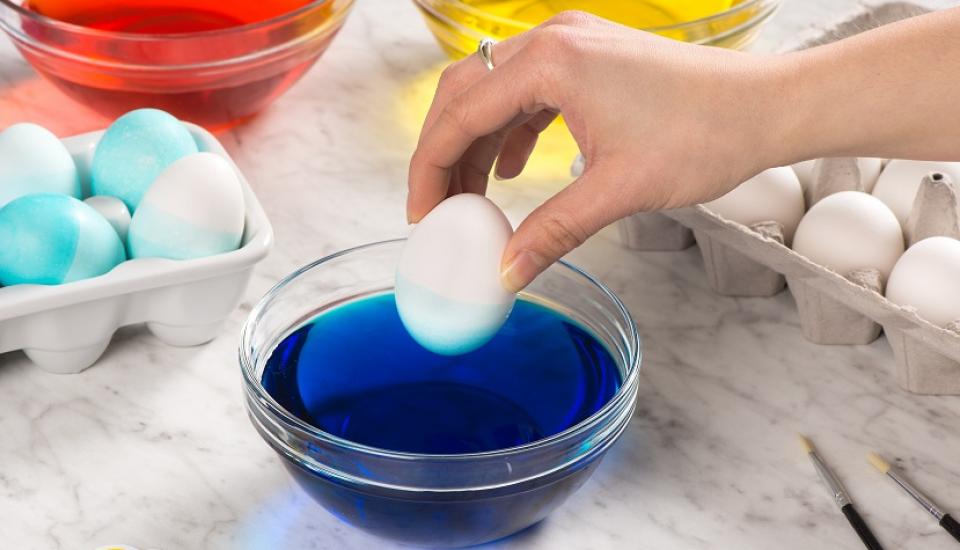
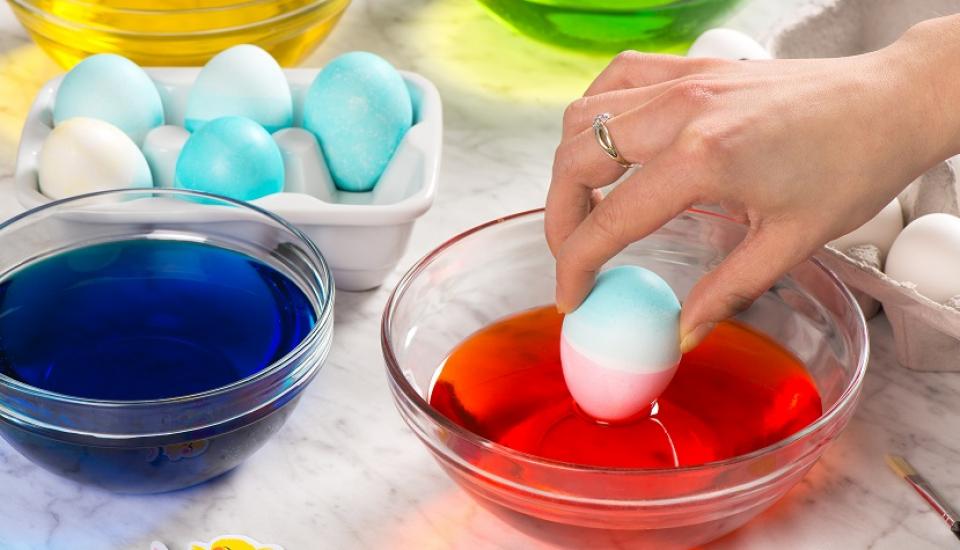
Use tongs, a spoon, or your hands to gently place the eggs in the dye. Remember, the longer you leave an egg in the dye, the deeper the colour will get. Allow eggs to dry completely (you can use a cake rack or a carton). You can also thread a wire in the hole of a hollowed egg to lower it into the dye and to help keep it submerged. See the process for dying eggs here.
-
Step 2

After the eggs have dried, repeat the same process with another colour, if desired. Again, allow eggs to dry completely.
-
Step 3

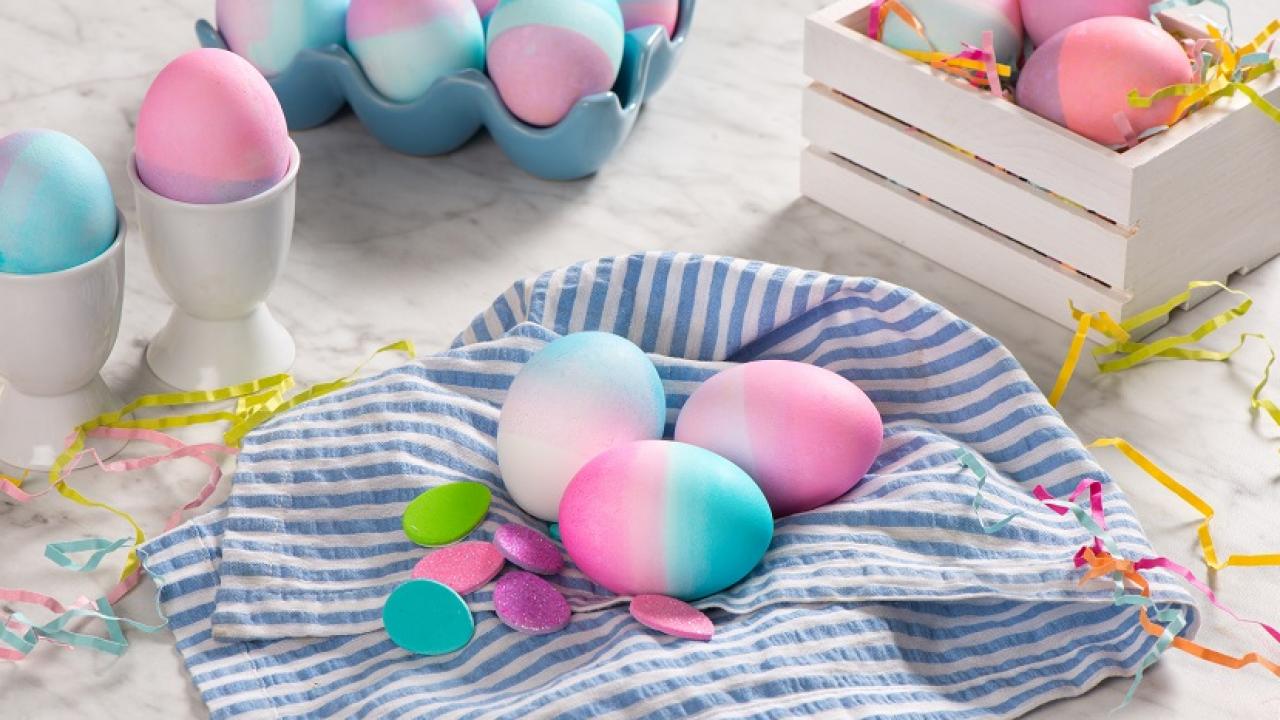
The eggs are now dyed, but you can continue to decorate them. See here for some fun and easy ways to decorate your Easter eggs. With so many options, every egg will be a unique mini-masterpiece!