Dyeing Easter Eggs
Beautiful, brightly coloured eggs can be easily created using store-bought or natural dyes. Dyeing eggs can be fairly simple, making it a perfect craft choice for 'artists' of all ages. Dyes, a few glasses or mugs, a pair of tongs, thin string or wire, rubber gloves (so that your hands don’t look like Easter eggs, too) and, of course, eggs, are all the tools you’ll need to decorate Easter eggs at home.
Things You'll Need
- Eggs
- Food colouring
- Vinegar
- Glass bowl
- Tongs
Instructions
-
Step 1

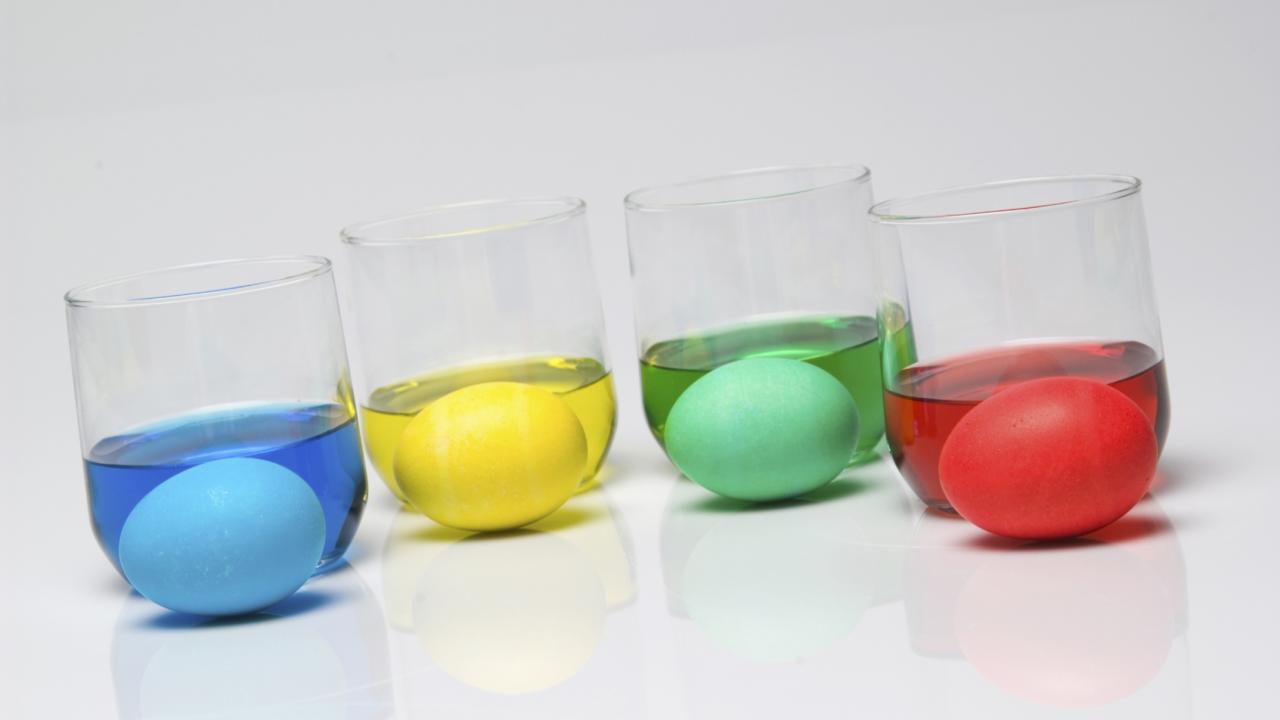
If using store-bought dye, prepare according to package directions; if using natural dye, mix 1 teaspoon vinegar with 1/4 teaspoon of food colouring. Pour the dye into 3/4 of a cup of water, but be sure to use a cup or glass that is deep enough to cover the entire egg. Tip—Use clear cups or glasses so you can see how the egg is dyeing, and if the colour needs to deepen.
-
Step 2
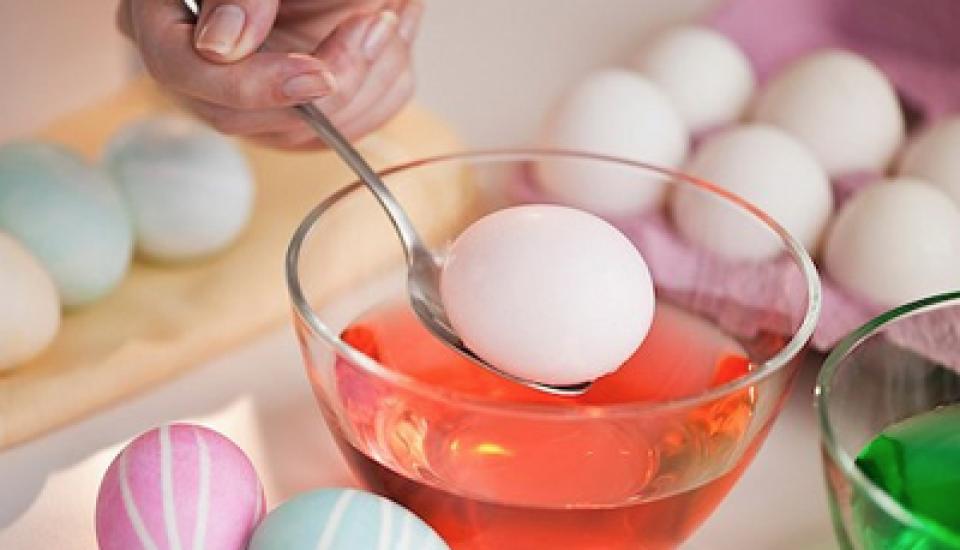
Using tongs or a spoon, gently place the egg in the dye. Be careful not to drop the egg in, or the shell might hit the bottom of the cup and crack. You can also thread a thin wire through the holes in each end of the hollowed egg shell, bending the wire at one end so the egg won’t slip off. Then, using the wire, you can dip the egg in the dye.
-
Step 3
Completely submerge the egg in the dye until the desired colour, from 2 to 5 minutes. Remember, the longer you leave the egg in the dye, the deeper the colour will get.
-
Step 4

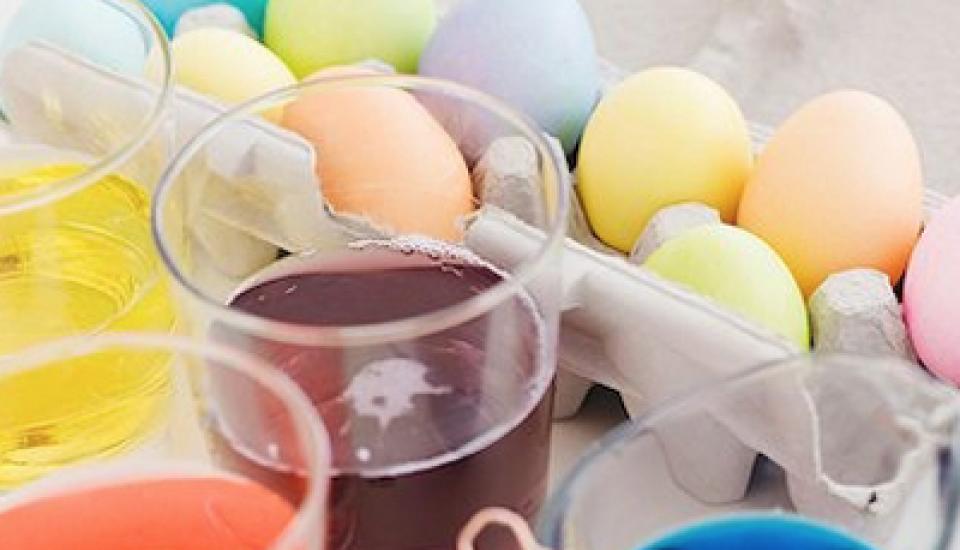
Remove eggs from the dye and allow to dry before adding another colour or continuing to decorate. Tip—Place eggs on a cake rack to allow them to dry quickly and evenly.