How To Make Magic Marker Easter Eggs
Markers are a quick alternative to dyes and paints when decorating Easter eggs. They’re great for doodling delicate patterns, writing names, or adding a personal touch to dyed eggs. To get started, all you need are some eggs and some markers. Follow this step-by-step process and you’ll be creating mini-magic-marker-masterpieces in no time!
Things You'll Need
- Eggs
- Markers
Instructions
- Step 1
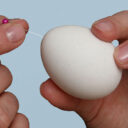
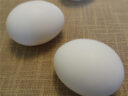
Wash and hollow out as many eggs as you would like to decorate. See How To Create Hollow Eggs for a step-by-step process for hollowing eggs. Although you could draw on raw eggs, hollowing them first allows you to keep them for next year, and ensures if you break one, you won’t have a big mess to clean up.
- Step 2
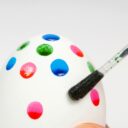
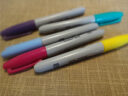
Gather some markers in different colours. For kids, be sure to use non-toxic, water-soluble markers. Adults can experiment with permanent markers to create intricate patterns and outlines.
- Step 3
When drawing on the egg, work in sections to allow areas to dry to avoid getting marker on your fingers. Tip: Cut old toilet-paper rolls in three to use as bases to set eggs on so you don’t have to hold them while drawing.

- Step 4
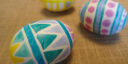
Place magic marker eggs in bowls and glass jars and enjoy your Easter celebration!